

How to Understitch
How to Understitch. Creative title, I know. Before we delve into how to understitch, let's talk about why you would want to. Understitching is topstitching's more refined, cooler, better looking brother. Yes, I said it. Topstitching can be ugly. If you are sewing what you want to be a high end garment, the exposed topstitching can totally ruin the look. But without topstitching the necklines, the first time you wash the garment, it's going to look like a huge mess. Understitching to the rescue! By understitching instead of top stitching, your seam lines will stay crisp and clean, but your stitching will only be visible on the inside of the garment. Clear as mud? Read on, and you will see what I mean.Step One
Make your seam as you normally would. In these photos, I am using scraps of the pink anchor fabric to represent the main fabric, and the blue polka dot fabric to represent the lining. This technique would also work with an unlined garment that has a facing instead.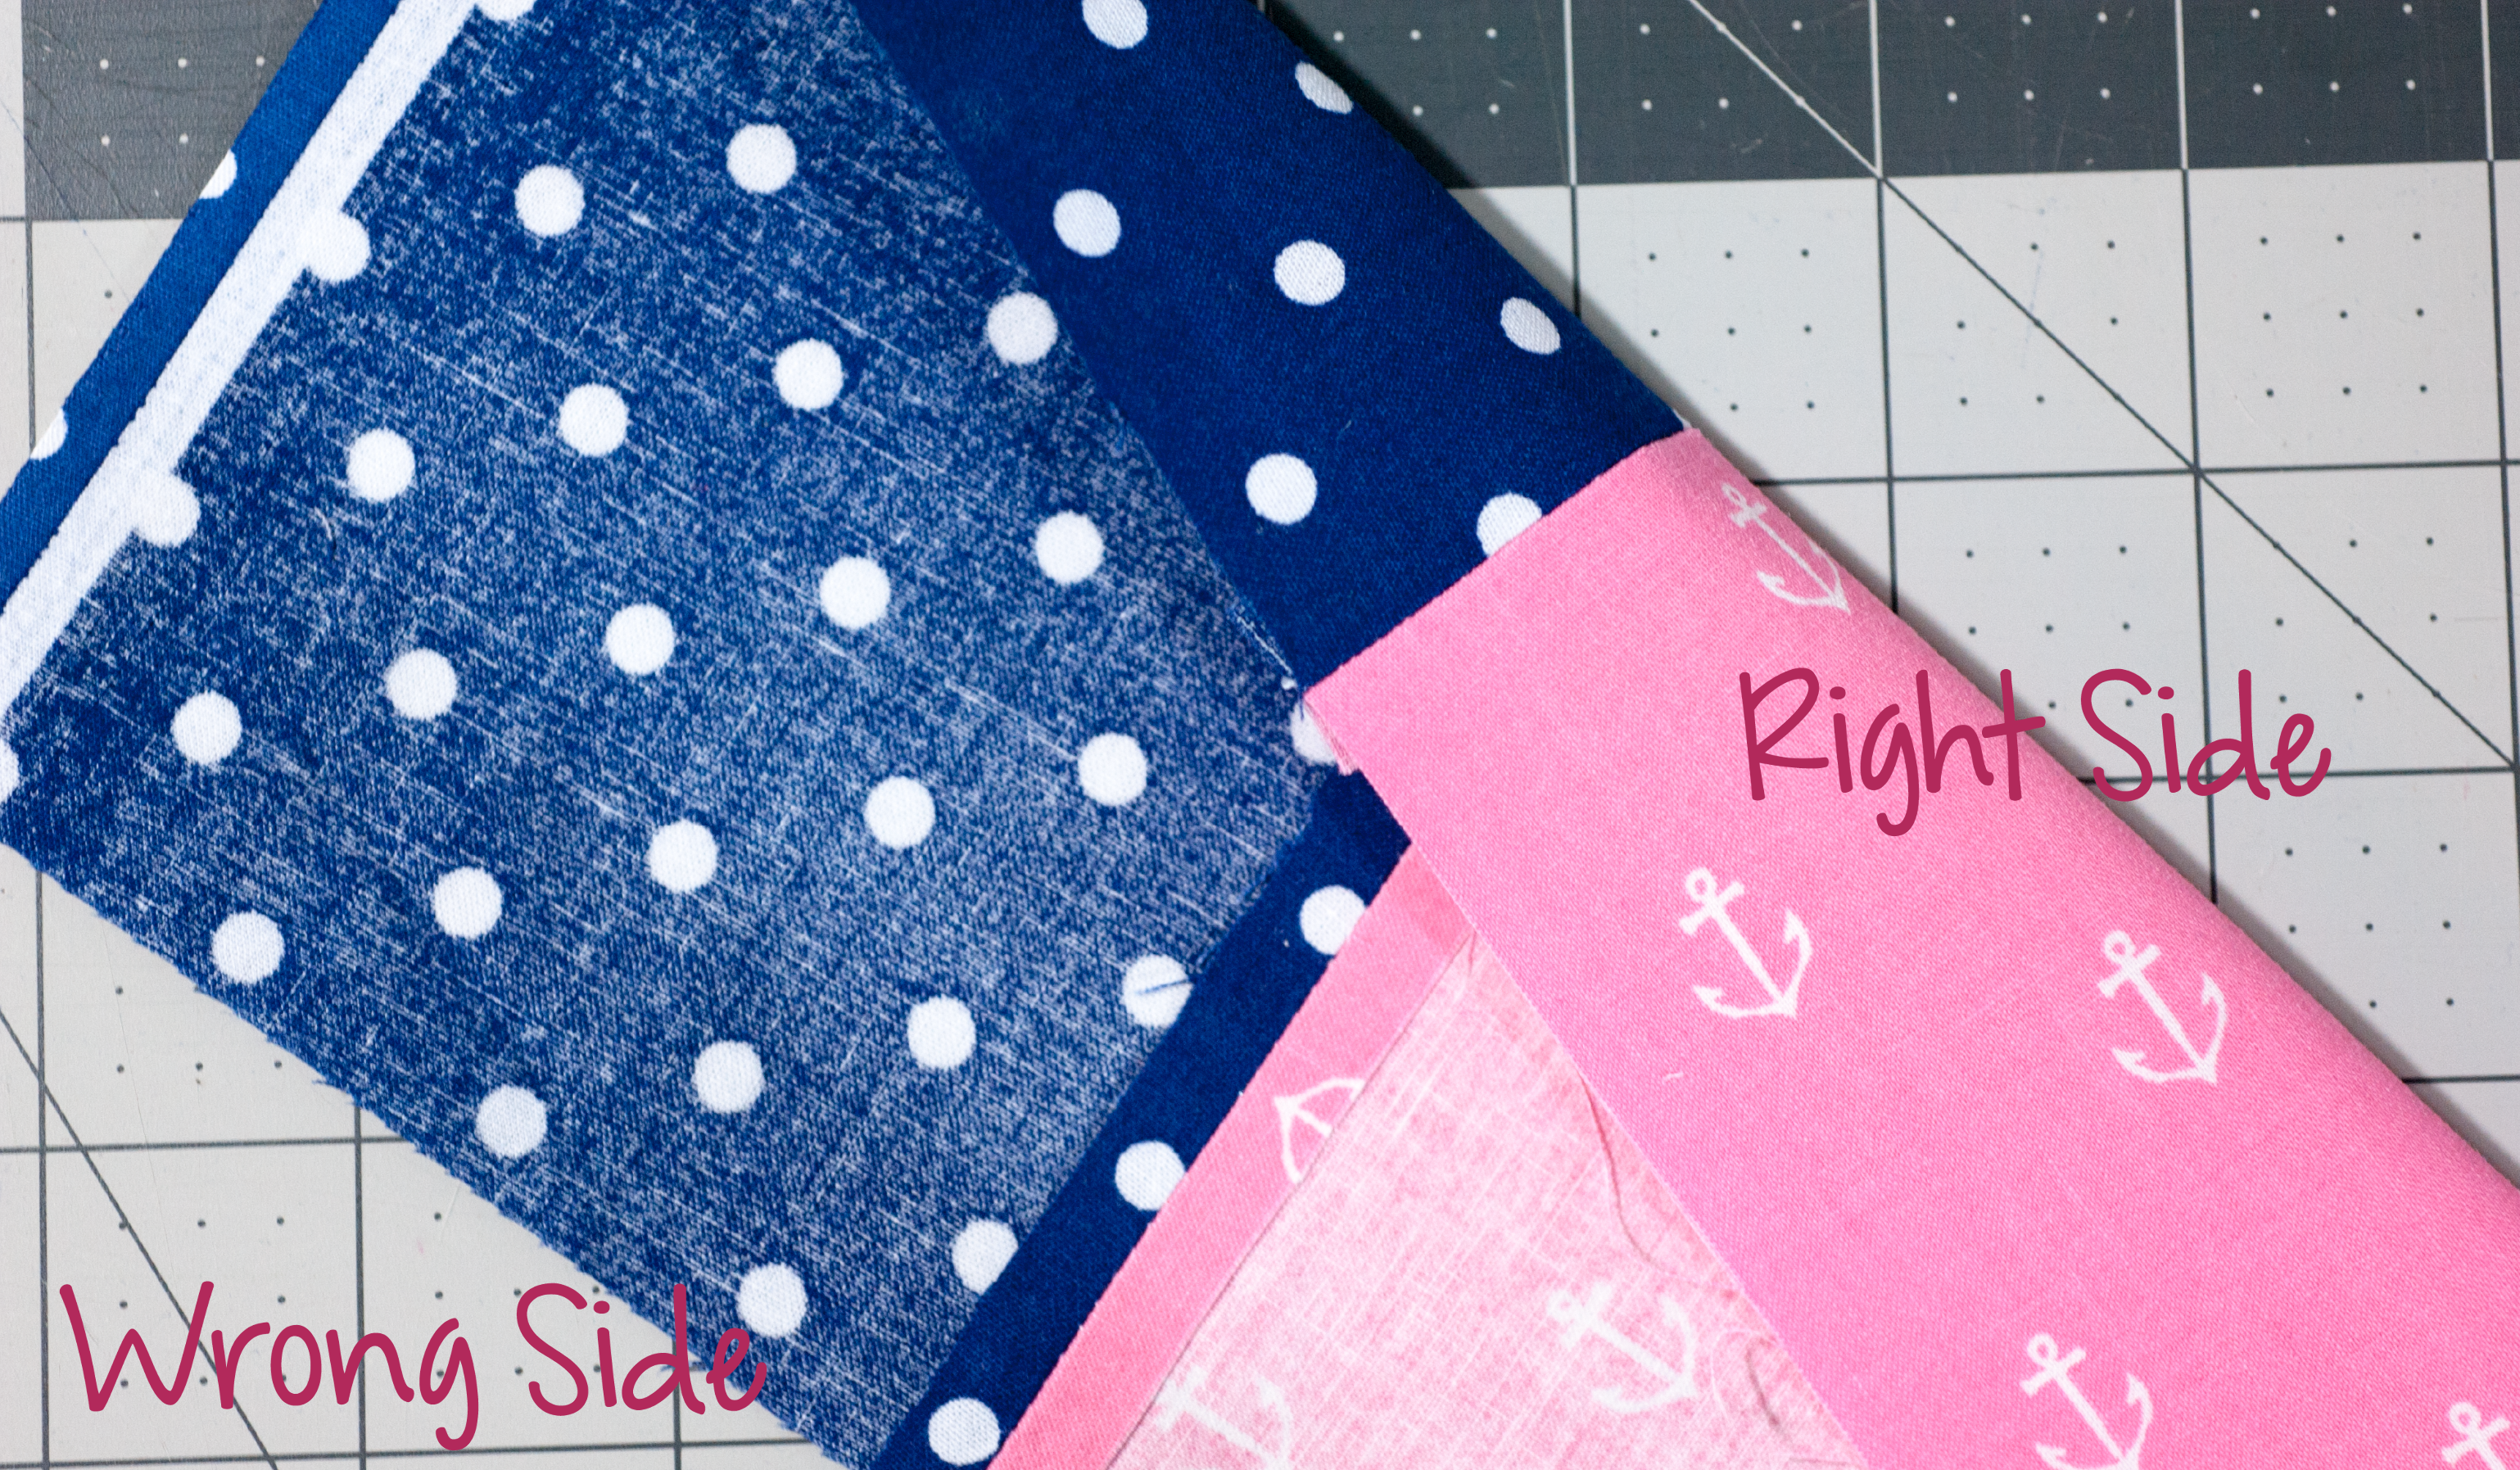
After you sew the seam, make sure you give it a good press. If you notice, pressing the seam open gives it a nice, crisp, professional look from the right side of the fabric. Pressing can take some time, but it is by far the most important aspect of sewing. It really makes a difference!

Step Two
Next, press your entire seam allowance towards the lining/facing.
Step 3
Now it's time to understitch. With the seam allowance pressed towards the lining/facing of the garment, edge stitch 1/8" (3mm) away from the seam on the lining/facing side. You will be sewing through the right side of the lining fabric as well as the main and lining seam allowances.It's important to note that understitching can be impossible on some tight curves and small spaces due to not having enough space to sew. What you have to do is just understitch as far as you can. While it may not seem like it, the rest of the understitching will hold the neckline/arm hold securely in place after laundering.

The Finished Look
This is how it will look from the right sides when your understitching is complete
Here is a view from the back side. You can see that the understitching is just to the side of the main seam line. Now all you have to do is fold the lining and main fabrics wrong sides together at your seam and press.

You did it! See how nice the front of the garment will look? I love the fact that the stitching is not visible. You see this kind of technique a lot in higher end ready to wear garments.

Here is what the inside of the garment would look like. It is the only place the stitching will be visible. Plus, the best part about understitching is that it gently rolls the main fabric towards the back, effectively hiding the lining of the garment in the process.
How cool is that? And the best part is, it's so easy!
What other techniques would you like to learn?