DIY Trick or Treat Bag Fun!
Materials:

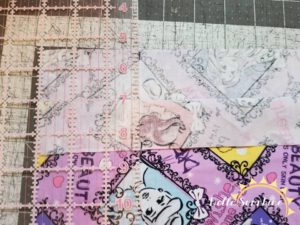
2 pieces of fabric 15" tall by 14" across of your main fabric
2 pieces of fabric 15" tall by 14" across of your lining fabric
1 piece of fabric 44" long by 4" wide for the handles
Instructions:
Making the Handle.

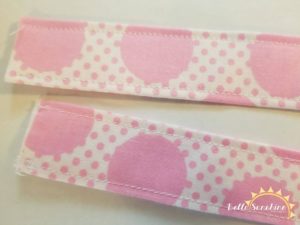
Take your handle fabric and fold it in half with wrong sides facing long sides together. Press.

Open and fold the raw edges into the center crease. Close and press again.

Edge stitch down both sides of the handle to secure. Cut in half. These will be your 2 handles for the tote bag.
Making the Tote Body.
If you are going to decorate or embellish the front of the bag, now is the time to do it. I'm leaving this one plain, but there are literally endless possibilities here. You could applique a jack-o-lantern face on orange fabric. Paint a superhero logo on the front. Stitch a fun embroidery design to coordinate with the costume... these are just a few ideas, so go wild!

Make a mark 3" in from the outside top edge of each piece.

Take your two main pieces and pin them right sides together.

Using a 1/2" seam allowance, sew down one side, across the bottom, and back up the other side. (Leave the top open.) Repeat with Lining.
Squaring the Bottom of the Bag.

With the main body of your tote inside out, take a bottom corner and flatten it with the seams on top and bottom. Measure up 1.5" from the point on the seam and draw a line straight across the corner.

Sew along this line. Repeat these steps for other main and lining body corners.

Cut the corners off below the line of stitching.
Final Assembly.

Flip your main body piece right side out. Insert it into the lining (still inside out) so that the pieces are right sides together. Be sure to match side seams.

Take your handles and insert them in between the main and lining pieces. Line them up on the inside of the marks you made before beginning the body assembly. Be sure your handles are not twisted.

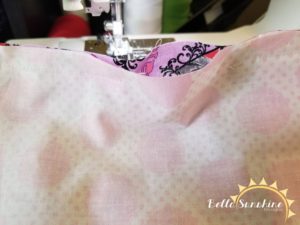
Pin well and sew around the top of the bag, leaving an opening of about 3" for turning it right side out.

Pull the bag right side out through the opening.

Tuck the lining down inside the main body of the bag. Press well around the top edge. Edge stitch about 1/8" from the top edge of the bag to reinforce the handles and close the opening.

And you're done! So easy, right? As an added "Cute Bonus" I'm going to share my little princess "modeling" her new trick or treat bag! She really adores it and can't WAIT to go out Trick or Treating!


If you use this tutorial to craft your own trick or treat bags, please feel free to share your bags in the Bella Sunshine facebook group! We'd LOVE to see them!
