
How to Sew Spaghetti Straps: The Traditional Method
You will need:- straps pattern pieces
- fabric
- scissors
- sewing machine
- iron/iron board
- Dritz Loop Turner - Get this on Amazon!
(affiliate link)
Here we go!

First, fold your strap right sides together and sew using the seam allowance provided in the pattern. Then, most importantly, trim your seam allowance down to 1/8" (0.3mm).
Then, trim the seam allowance on one end slanted towards the raw edge. I suggest staying within the raw edge's seam allowance just in case your stitching starts to come loose a bit. This is an important step. It will make your turning so much easier.
Next, grab your Dritz Loop Turner. Notice how it has a little hook on one end, with a sharp clasp that is a movable part. Open this clasp up. We are now going to feed this entire thing through your strap.
Now, this part may seem a little scary the first time you do it. You are going to want to poke that sharp clasp end within the seam allowance of the raw edge of the raw end of your strap. This anchors the end of the strap to the end of the Dritz Loop Turner. Now is when the magic starts...
As you start to pull the Dritz Loop Turner back down through the strap, make sure the top hook caught the raw edge of the end of the strap. This will help the fabric not become unattached as you begin to turn the strap right side out.
Start to pull the Dritz Loop Turner down through the strap. Getting the raw edge to turn is the hardest part. Since you trimmer the edge of the seam allowance at an angle, it should turn fairly easily without much resistance.
Continue pulling until your strap turns inside out.
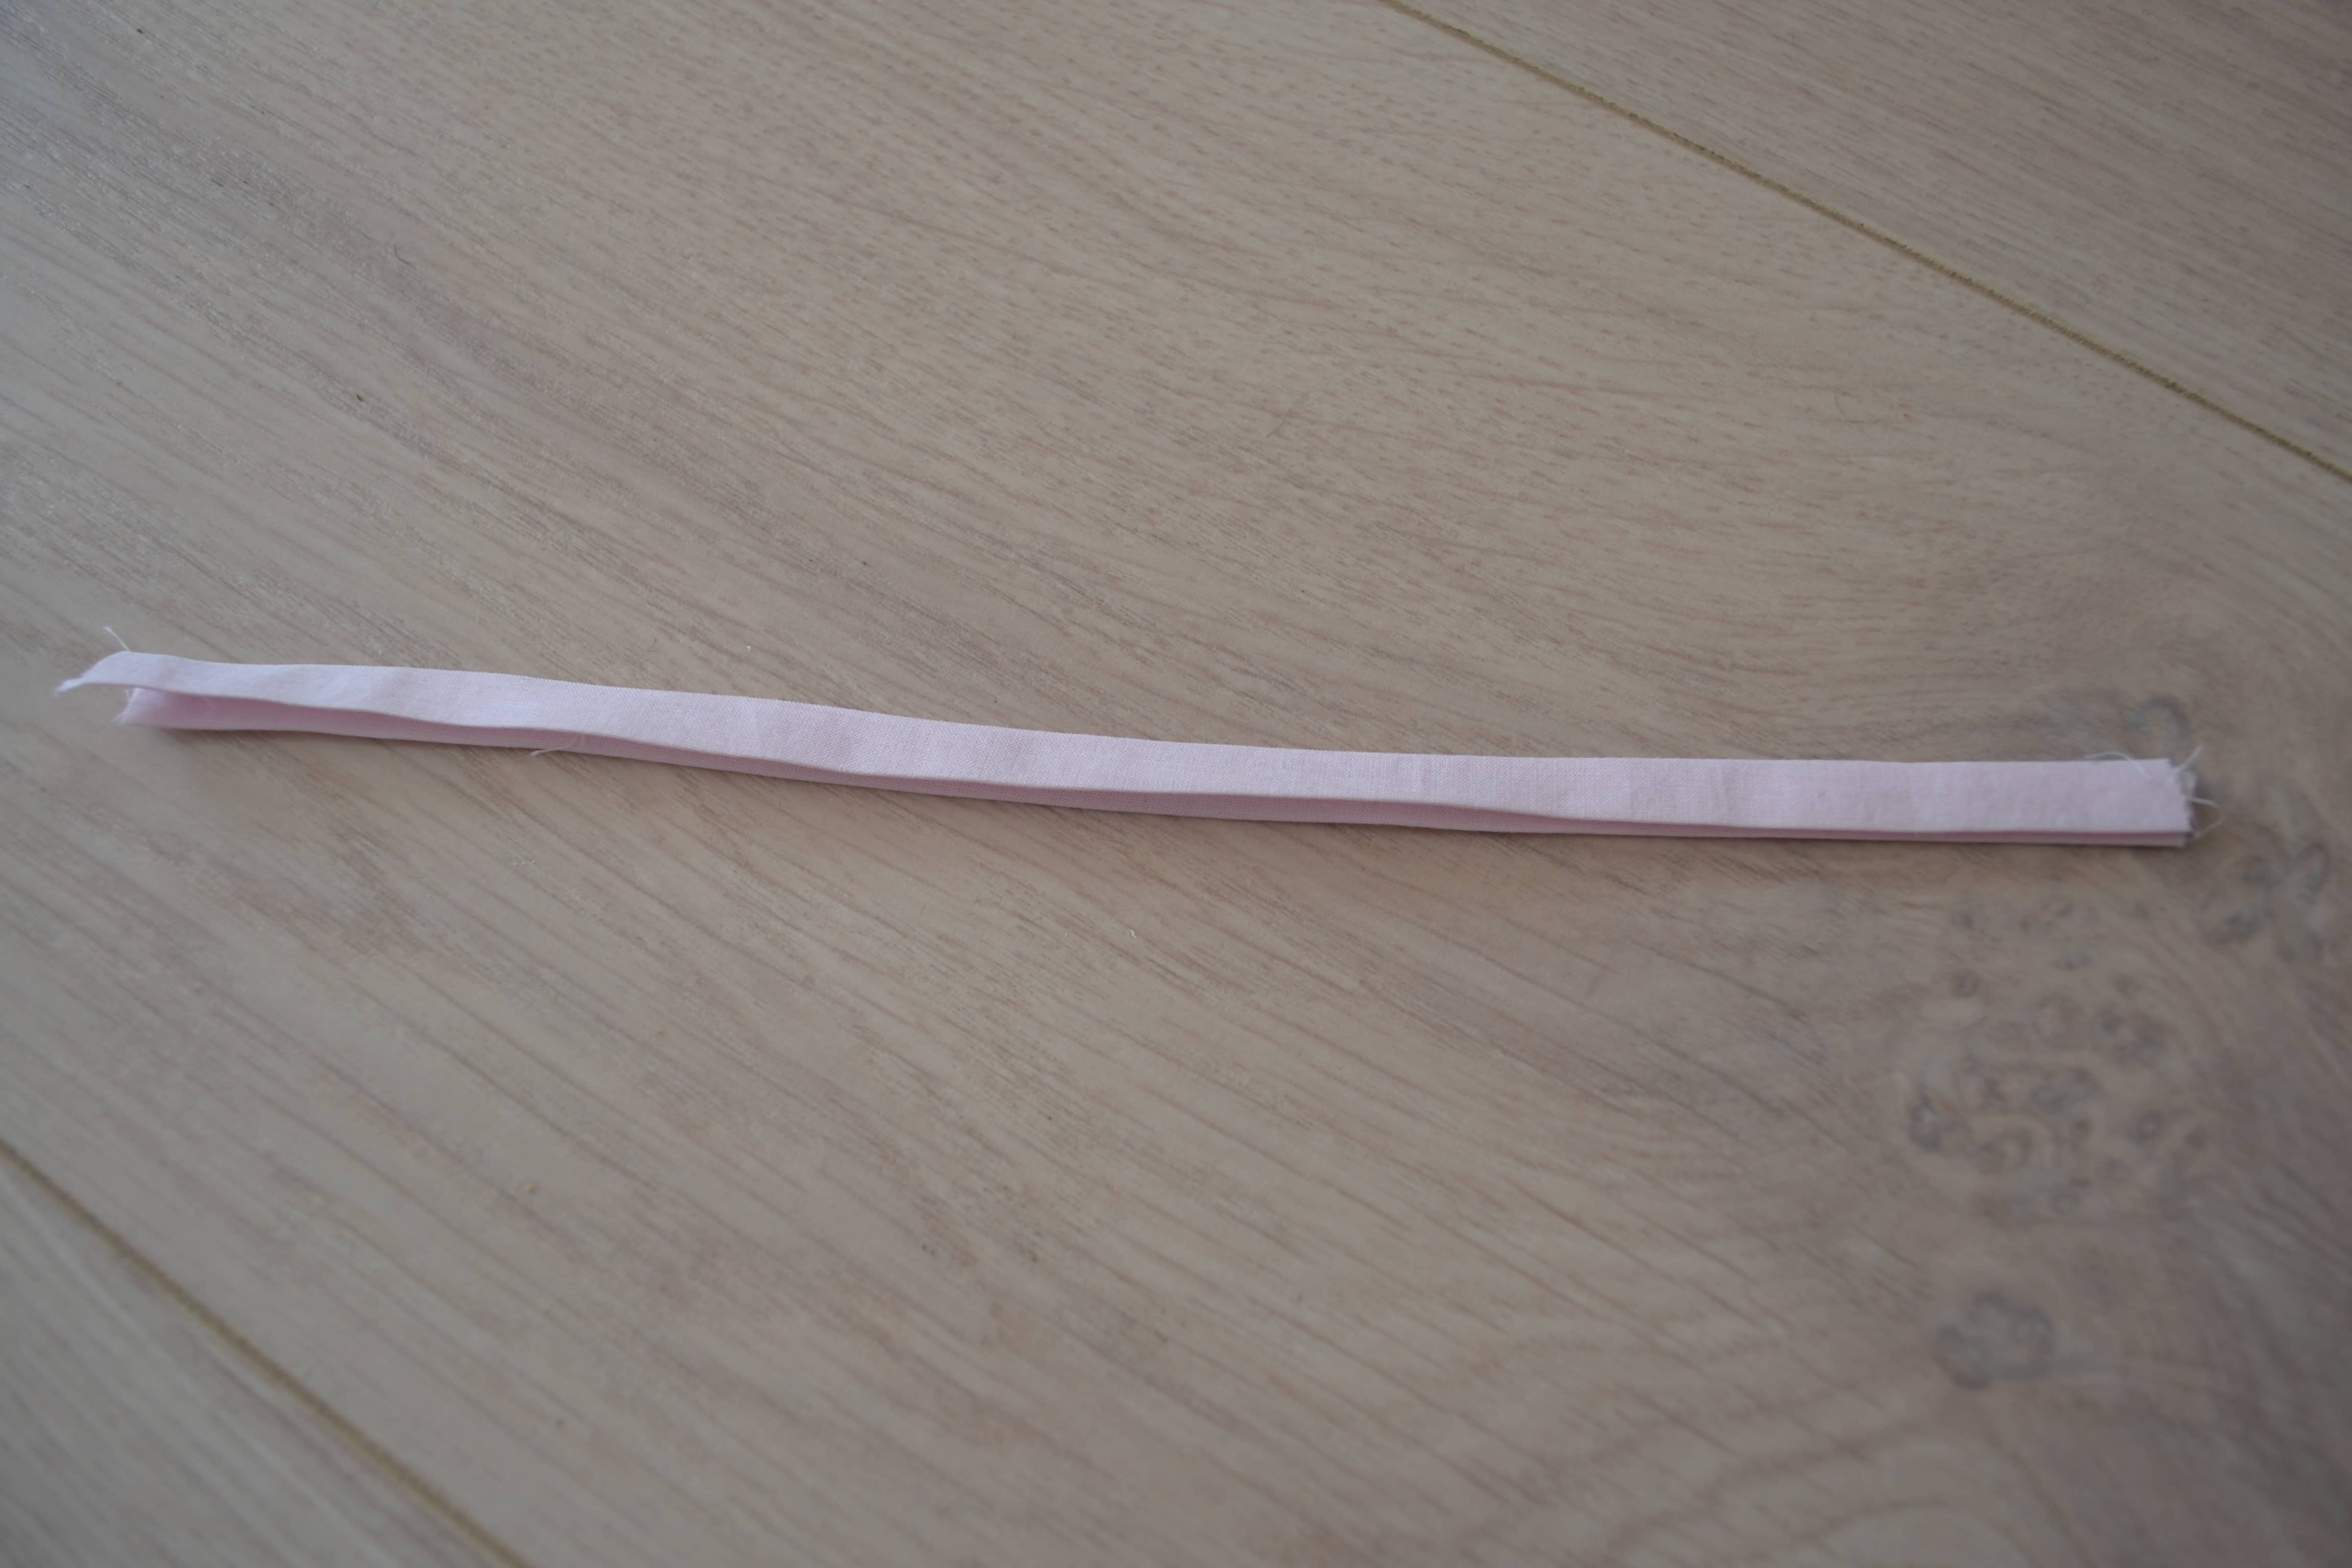
You are done! Now, look at those beautiful, tiny straps with NO stitching! You did it! Pat yourself on the back!
Sewing DIY: How to Turn Tiny Spaghetti Straps the Easy Way
Still a little worried that turning those tiny straps is harder than it looks? Take a look at the above video I did to show how fast and easy turning those straps can be when you have the right tools!
Still not convinced? Does the thought of turning something that small make you fret? Try our cheater method below!
How to Sew Spaghetti Straps: The Cheater Method
You will need:
- straps pattern pieces
- fabric
- scissors
- sewing machine
- iron/iron board
Let's get started.
Use your strap pattern pieces, cut out 2 straps.

Fold your straps in half lengthwise WST and iron the fold flat

Now we are going to open it up and fold both edges in towards the center line we just created.

Next, we are going to fold it again along the center
Repeat the previous steps with the second strap

Now we take the straps to the sewing machine. Sew along the edges of both sides. This will also close the open side of the straps.


You are done!

There you go! Two methods, both easy. Now all you need is our Felicity Dress & Top pattern to test them out on!
Did you learn something new? Let me know what your favorite part is in the comments!