
Reagan Sew Along Day 2~ Cutting the Fabric and Transferring Markings
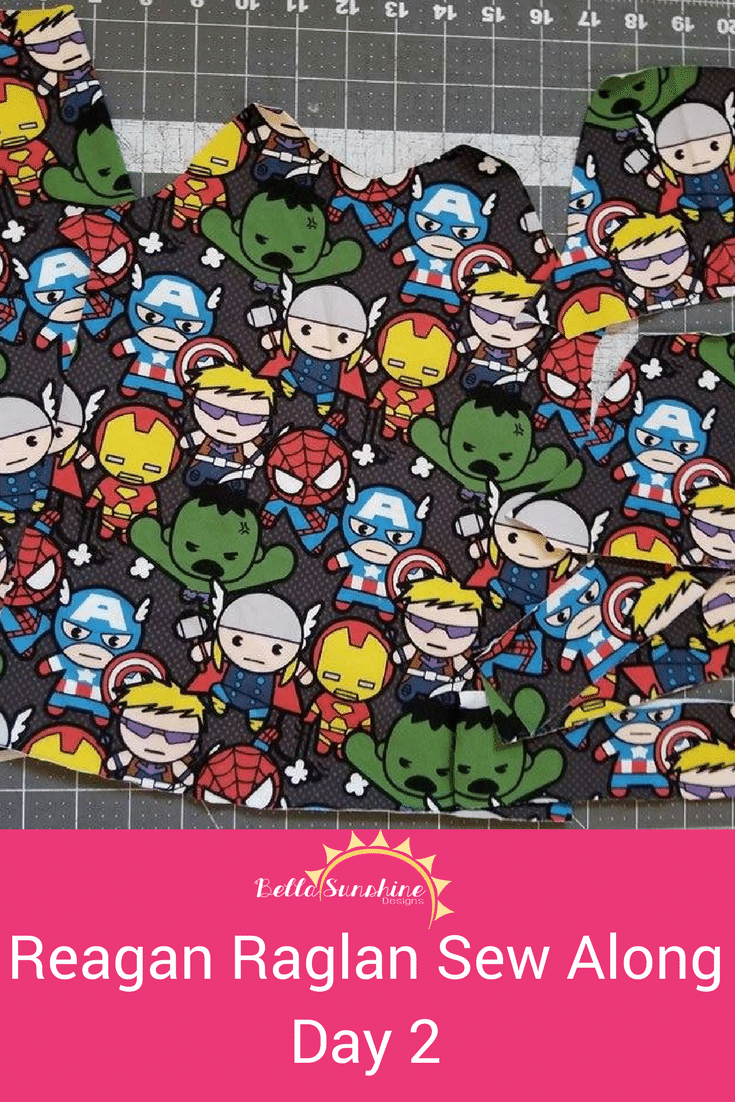
I'll tell you right now I failed a little here. I did not get pictures of my markings. But I will also tell you that you should NEVER skip this step. It will help you get everything lined up to achieve a perfect sew. So, first, cut your pieces. When you're done, you should have a front, back, neckband, 2 sleeves and 2 armbands. Something like this:

You should note that the sleeves are NOT cut on the fold, which makes the markings most important. They will help you attach the correct side of the sleeve to the correct bodice piece. You don't want to add them backward and end up with a wonky garment. Now set the pieces aside and celebrate!
Congratulations! You've survived day 2! The hardest steps are yet to come, but we're committed to helping you make the cutest Reagans you can make! Join me tomorrow, when we'll attach the sleeves to the bodice and start seeing this top come together! I can't wait to see your progress and cheer you on!
You can still get your own copy of the Reagan Raglan in Ladies or Kids sizes for FREE by using the code found in the group's pinned post, so don't forget to visit the Facebook group for that and to share your progress in the comments of today's picture in the sew along album! We love seeing your progress, answering your questions and celebrating your victories, so don't be afraid to share! And be sure to spread the love to your favorite projects in the album! Everyone loves a sincere compliment.