

Lose Your Sewing Weight: Grade Your Seams
Now seam grading sounds like something only a teacher would do, but it's just a simple term for cutting off your seam bulk. Check the photos below for how to do it.

First, we start with a seam with multiple fabric layers. For this tutorial, I have used four layers together and pressed the seam allowance to the right. I did each layer a different color so you could easily see what to do.

When looking at the wrong side, you want the top layer of the seam allowance to be the shortest. Therefore, you are going to trim this layer the most. Since I have four layers of fabric in the seam allowance, I trim this one pretty short. If you only had two layers, you could just trim this seam allowance to half.

Now do the same thin as the last step, trim this second layer to just past the top layer. Since I have four layers of fabric, I trimmed this layer to half.
Now it's time for you final trimming. Take the third layer, and trim a small amount off. Leave the bottom layer untouched. As you can see, all the layers are visible, and by gradually trimming the seam allowance, you have greatly reduced the bulk.
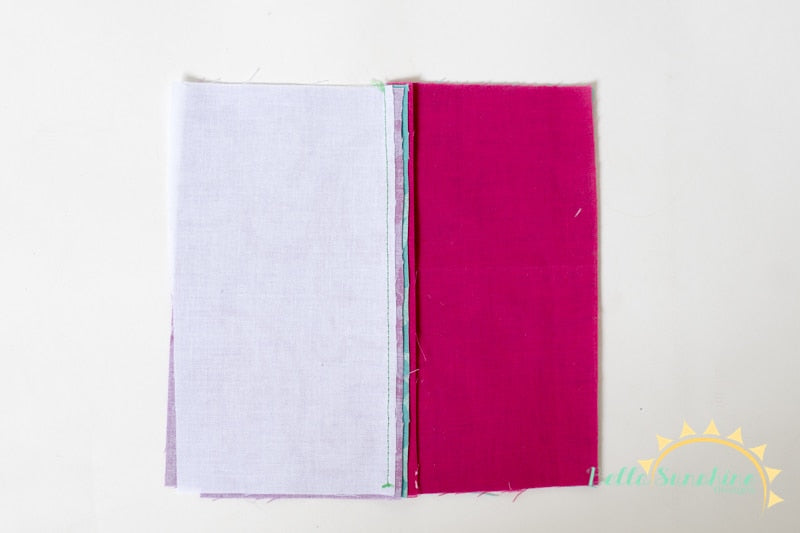
 Here's what it looks like from the front.
 And here is a close-up of the seam allowance. Now you can be super precise if you want and get a ruler out and mark an amount you need to cut off. Personally, I find if you just keep each layer shorter than the next one, it will turn out perfectly fine. But if precise is your thing, take the amount of your seam allowance and divide it by the number of layers of fabric you have to adjust. For example, if you have 4 layers of a 1" seam allowance, you would trim the first layer .75", the second .5", and the last layer .25".
Now if only all those holiday treats came off so easily. ha ha.
We use this technique on our Sahara Dress & Top for Girls and our Sahara Dress & Top for Ladies. If you don't have these pattern yet, you are missing out!