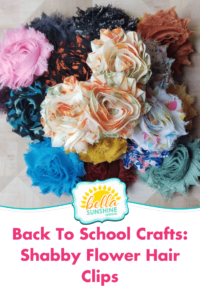
Back To School Crafts: Shabby Flower Hair Clips
Supplies Needed:

Shabby Flower (s)
Felt
Alligator hair clips
Hot glue gun with glue
There are a number of places you can source these items, but if you want to make it easy, you can probably find most of these things in your local craft store. Or you can get it all on Amazon. I went all over... I got the flowers from a Facebook destash, the clips from Amazon, and the glue gun and felt from Michaels. Also important to note is to make sure the size of your flowers and clips are proportional. I used 2" flowers and 1 1/2" clips.
Prep Work
You can get your shabby flowers already individually cut, but my flowers were on mesh strips. If your flowers are still connected, carefully cut them apart. Then, equally carefully cut the excess mesh from around the base of the flower. Seeing a little mash peeking is fine, but you want it to be mostly invisible when the flower is right side up, like so:

You'll also need to cut the felt into circles as well. I took a vitamin bottle lid that was about 1 1/2" across and traced it onto cardboard so I could make uniform circles. You could also just eyeball it if you'd prefer. I then took that circle and held it still against the felt as I cut around it (tracing onto the felt is also an option).

When I was done, I had a uniform little felt circle. And then you're ready for assembly!

Assembling Your Clips
First, plug in the glue gun. I always do that at this point for a few reasons. Obviously, hot glue isn't going to work if it isn't hot (haha). But, I wait until this point to conserve glue. If you plug it in too soon, it'll just drip glue all over until you pick it up. Pro tip: When working with a glue gun, ALWAYS keep it on/over a paper towel or a plate of some sort. It will make your life SO much easier when it's time to clean up!
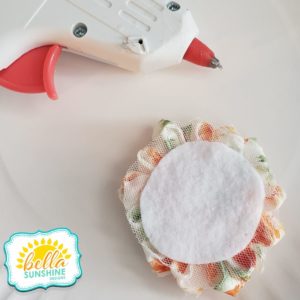
When it's all heated up and ready to go, take your felt circle and draw a glue circle just inside the perimeter. I also draw a line through that circle for a little more durability. Like so:

Then place that circle in the middle of the back of that flower and press it down gently. You'll need to work somewhat quickly before the glue cools too much, but you should have time for fairly careful placement.

Now, take the glue gun and apply glue to the top of your alligator clip in a nice thick line.

And place it glue down into the middle of the felt circle.

That's it! You're done! Just let them cool completely (shouldn't take long), and you have a beautiful new hair clip! These are great because you can dress them up or down. You can also find the flowers in a WIDE array of different colors and prints, so you can match almost ANY outfit! Also, try layering 2 flowers on a felt oblong with one clip for a slightly different look!

Will you be making ant fun school accessories this year? Let us know in the comments, as well as any other fun crafty ideas you'd like to see us try! And join us in our online community to share your fun makes, we love seeing them!

