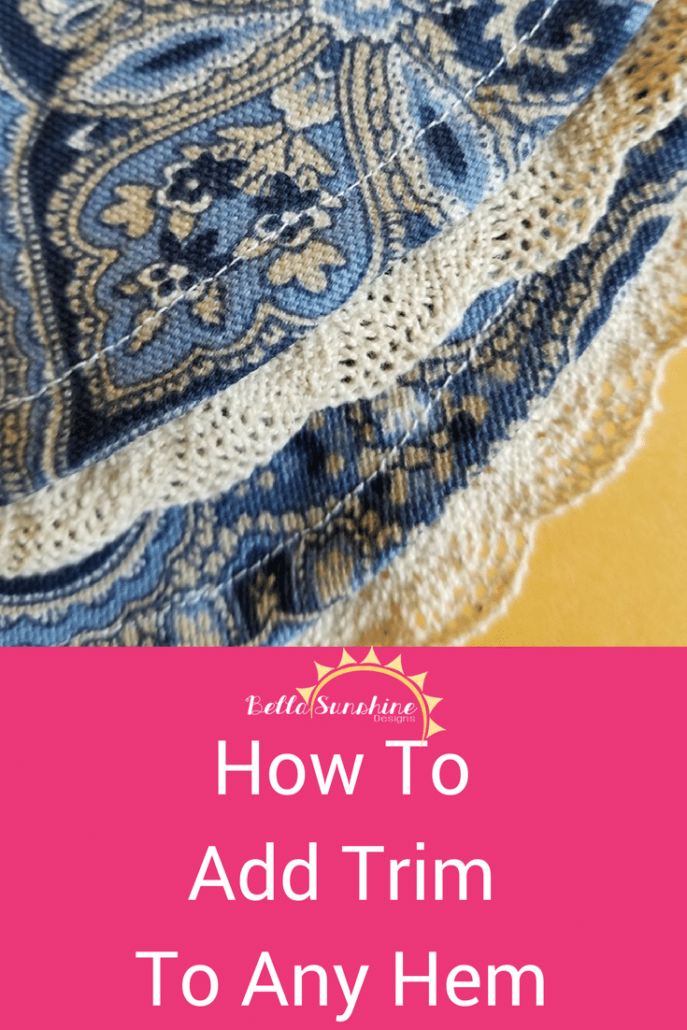
How To Add Trim To Any Hem
While this might seem like a tricky thing, it's actually pretty simple. And once you've done it once or twice, you'll be a pro at adding trim to just about any pattern in your arsenal to make it extra special!
Step One: Create a Memory Hem

Using the pattern's instructions, fold your hem and iron it in place, creating creases where the hem will eventually be. In the case of the Tess Tulip shorts, that hem is two 1/4" folds, pictured.
Step Two: Place and Pin Trim in Place

With the hem folded, place your trim (here, my lace) where how you would like it to lay on the wrong side of the garment. Carefully unfold the hem and pin the lace (or pompoms or ricrac) in place through a single layer of fabric. The trim that will be peeking from beneath your hem should be pointed toward the main body of your garment. Carefully sew along the edge of your trim through the single layer of fabric. These stitches will keep it perfectly in place for the final step.
Step Three: Adding the Hem

Now that you have the decorative part in place, the rest is easy peasy. Just fold along the creases you created in step one and stitch into place like you normally would! I personally love lace but have seen some amazing pom-pom and ric-rac added to hems for some phenomenal pieces as well. Be creative! Have a blast! And make everything beautiful and uniquely yours!

1 comment
Thank you for this advice for adding trim to a hem. I didn’t know it could be good to create creases where the hem will be. I’m kind of interested to learn if you should fold more if you’re planning on using a bigger trim.