
Day 6: Final Details, Buttons, and Button Holes
Welcome to Day 6 of the Adaline Holiday Dress Sew Along! Here is where you can get caught up on Day 1, Day 2, Day 3, Day 4, and Day 5. The pattern is still on sale for $5USD until midnight EST on Monday, December 12th with the code "sewadaline".Today we will be putting the finishing touches on our Adaline dresses! Round up those buttons and your thread colours for top stitching. You will also need a hand sewing needle to slip stitch the lining closed. We will be following steps 29-33 in the pattern tutorial today.
Final Details
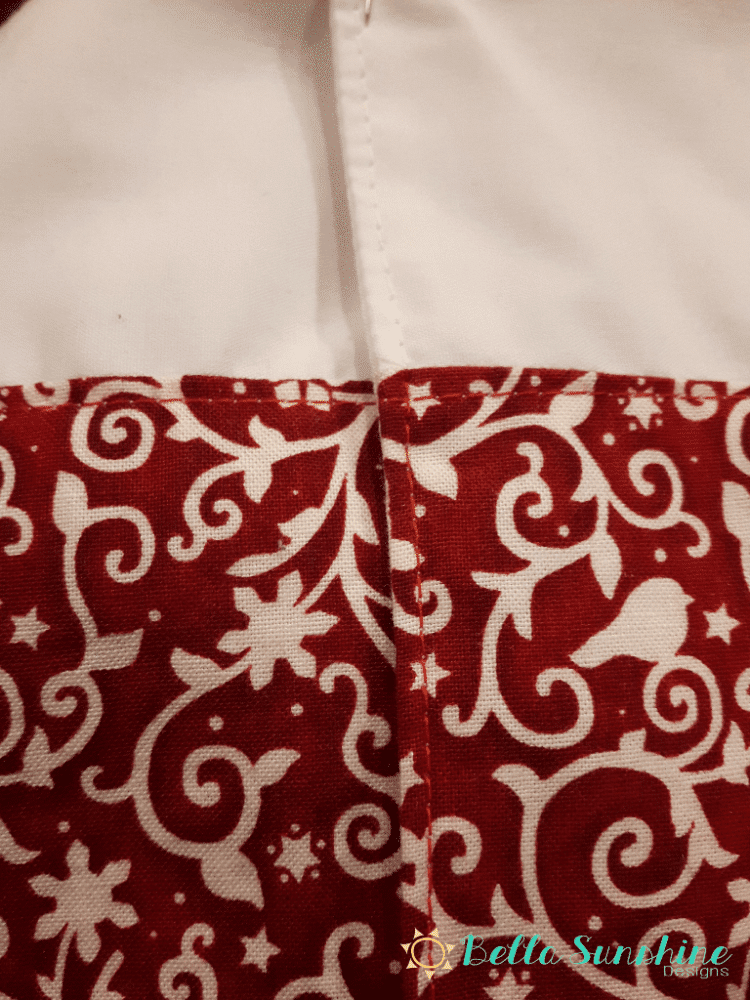
Remove visible basting stitches from gathering the skirt.Top stitch everything as directed in steps 29 & 30.
Prepare your needle
Now it is time to slip stitch the lining closed as directed in step 31. This will give the inside of your Adaline a beautiful finish with no exposed seams. The slip stitch is also known as a ladder stitch, blind stitch, or invisible stitch. It allows you to close a seam from without the stitches being visible.
First, you will need a hand sewing needle. Thread it and double or triple knot the ends together so the knot can't pull through your fabric.

Learning a ladder stitch
To make your knot invisible, push the needle through the wrong side of the lining on one of the creases made back in step 9. Push the needle through the right side of the seam directly across from it and bring the needle back through after traveling only about 1/8" (3mm) along the seam.
TIP: Start at the side seam so that it lines up with the side seam of the main bodice.

Push the needle through the right side of the lining directly across from where you just pulled the needle out and again travel about 1/8" (3mm) along the wrong side of the seam before returning the needle to the right side of the fabric.

Continue in this manner for a few stitches. The stitches will form a pattern that looks like the rungs of a ladder. Odd stitches are coming out of the fabric and even stitches are going into the fabric.

Gently tug on the working end of the thread to pull the stitches tight. None of the stitches should be visible anymore.

Continue doing this until the seam is entirely closed. To finish, go back and forth a few times to form a lock stitch. Then, on your last pass, pull the needle through the loop your stitch formed. As you are pulling the loop tight, bring the needle through the loop again. This will form a knot.

Push the needle through the right side of the fabric next to the knot. Travel a short distance along the wrong side of the fabric then push back through to the right side. Pull the thread tight and snip it immediately where it comes out of the fabric. This will hide the tail on the wrong side of the fabric.

Adding the Buttons and Button Holes
Follow steps 32 & 33. A detailed button hole tutorial can be found in the Gabriella's Winter Coat Sew Along if you have never made button holes before.

Now your dress is finished! Congratulations!
Please post a photo of your finished Adaline in the Day 6 participation thread on Facebook for participation credit and voting. Please take the time to vote for your favourite finished dress while you are there! Come back Monday evening to see the winner announcement.